While an orchid is said to be a low maintenance plant, that does not mean it is easy to actually care for.
While the Phalaenopsis variety of orchid is the type you will find most commonly sold across North America, more often than not, people look after them in the wrong conditions.
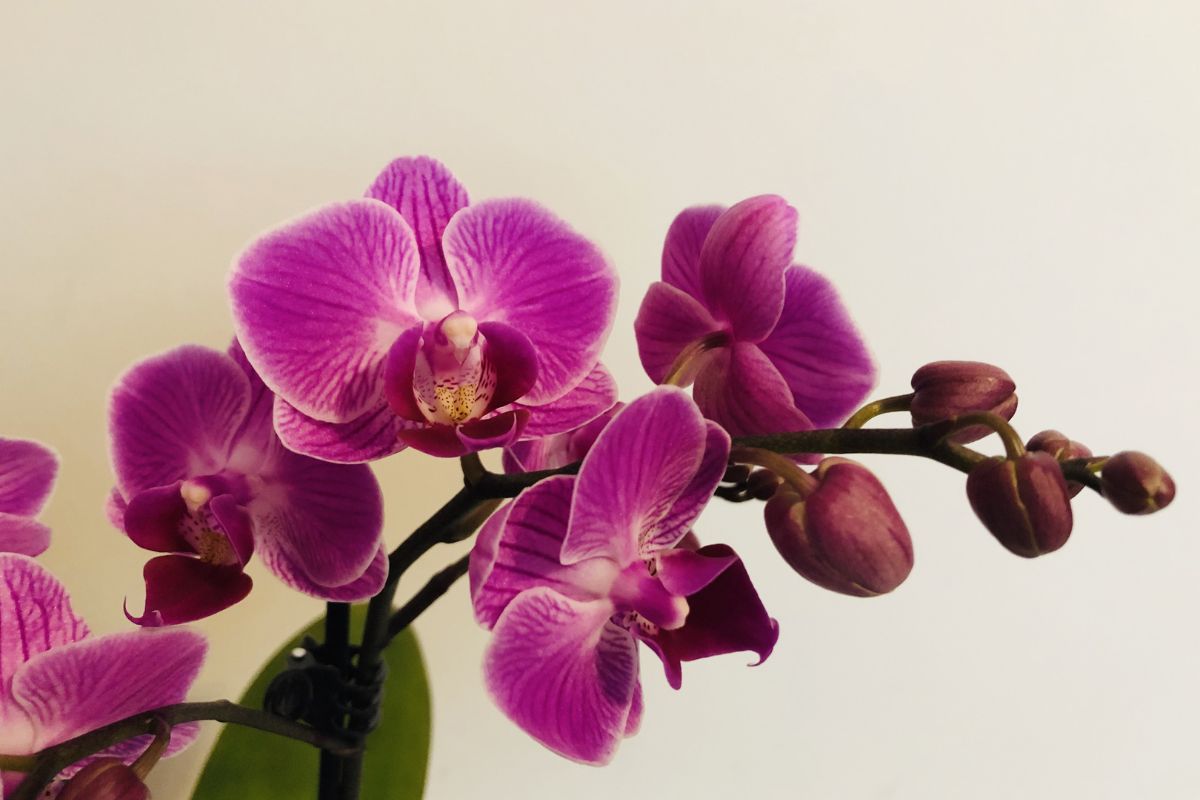
So it is no surprise that you have found your way here. If your orchid is dying, or has simply died, then you might want to know if you can revive it. Fortunately there are some simple steps you can take to do so.
Also, there are a number of things you can do in order to make sure your orchid has a fulfilling and healthy life.
However, you will need to make sure that you have a lot of patience in order to see the orchid back to its usual self again. This is because you may need to repot the orchid or cut away the rotten roots.
So let’s take a look at some simple steps on how to revive an orchid.
Step 1: Diagnose An Orchid’s Issue
Before you can do anything to help your orchid to survive, you will need to know what the issue is. This is because the orchid might just be dormant rather than dying.
There is a good chance that the orchid is healthy and is just going through its natural dormant phase which often happens during winter.
During this time the orchid may not have any flowers, and the stem may go a brown and yellow color. Let this orchid be, as after around 6 months it should start to bloom again.
Root Rot
If you notice the leaves are becoming dry and crispy, but there are new shoots, then your orchid is healthy.
However, if the leaves are turning yellow and limp, then it could be a sign of root rot. This is often due to overwatering the orchid, and can eventually lead to gnats. These are tiny flies which will need to be gotten rid of.
Once you take a look at the roots, they may be mushy and also black. This can happen when there isn’t good drainage in the pot too.
Once you see all of the leaves turn yellow or they all fall off, then there is a good chance that the orchid cannot be revived – unless it has aerial roots, which are the roots that grow above the potting soil.
Crown Rot
If you notice that the stem of the leaves is turning a brown color, then it is likely that the orchid is suffering from crown rot. This will turn black in its later stages.
This is similar to root rot, and is due to water becoming trapped within the leaves. You will need to remove the orchid from the pot and chop away any areas that are rotting.
Step Two: Removing A Dying Orchid From Its Pot
When you first remove an orchid from the pot, you may find it a tight squeeze. This is because they are very root bound, so you will be able to see all of the roots.
Remove any of the media that is stuck to the roots, and be as gentle as possible. You may find the roots wrapped around all sorts of nooks and crannies.
Rinse them gently under running water to remove any excess media.

Step Three: Cutting The Roots
Before you use shears or a blade, clean it with rubbing alcohol. Now you can begin snipping away at the dead and rotten roots.
These are the roots that are brown, yellow and black, and some may feel mushy. You may want to remove crispy roots too.
Any root that is green you should leave. Or if the root has green on the tips, leave them be as well.
You may also want to remove old dry leaves too.
If you suspect your orchid of pests, you can spray it with a 3 percent strength of hydrogen peroxide. You can spray the roots too to prevent further root rot.
Step Four: Repotting An Orchid
Once the above step is complete, using a clear pot with lots of drainage, add in around two thirds of a potting mix. This should have moss and bark chips in as well.
Place your orchid on the top of the mix, and add more bark to cover the space. You will want to make sure the roots can be seen so you can keep an eye on their regrowth.
If there are very little roots actually left on the orchid, place it on the soil and cover the rest of the orchid with moss. This will help to keep it humid.
Adding moss is a crucial step to reviving any orchid. However, do not place it near the stem, as you will want to avoid too much hydration. Lightly water the orchid.
Key Steps To Keeping An Orchid Alive
There are a few things to keep in mind when looking after your orchid:
- Place the orchid in a bright room but away from indirect sunlight.
- Do not overwater an orchid, but also make sure to not let it go thirsty.
- Do not overuse fertilizer. This can burn the roots.
- Never let the orchid be in a really cold or too hot room.
Final Thoughts
Once you complete the above steps, all you need to do is be patient. There is a good chance that your orchid will be back to its normal self.
Just remember to keep an eye on those roots. Using a clear and well drained pot will allow you to see if there are any new green roots growing.
If you do see green roots forming, this means your orchid is definitely not dead or dying, and is overcoming its ‘health scare’.
All there is to do after that is make sure to maintain its health, and in return it will bloom and look beautiful in the home.
- Best Hanging Plant For Low Light - September 4, 2023
- Best Indoor Plants Florida - August 28, 2023
- Best Plants For Bathroom Smells - August 21, 2023


