Money trees are a common household plant, and if you’ve ever seen one before, then you’ll know that their most distinctive feature is their braided bark.

However, did you know that money trees don’t grow braided naturally, and it’s actually something we began doing to them in order to help decorate them.
If you’re growing your own money tree at home, then you’re probably wondering exactly how you can braid your own tree. Many people assume that this process is difficult, when in reality it’s actually rather easy!
So, if you want to learn how to braid a money tree at home, as well as more information about money trees, then read on through our guide, and we’ll teach you everything you need to know.
What Are Money Trees?
Native to Central and South America, these broadleaf evergreens are botanically known as Pachira Aquatica, however they are often given a range of different names, including the Guiana Chestnut, Malabar Chestnut, French Peanut, Pumpo, Good Luck Tree, and of course, Money Tree!
What is known as a money tree is actually not a singular tree though, in fact, a money tree is the name used when multiple Pachira Aquatica are braided together, which gives them that distinctive bark that everyone is so fascinated with.
People also tend to assume that much of the symbolism associated with this tree stems back centuries, but this is wrong too!
The symbolism around money trees only really began in the 1980s, and originates from Taiwan, where it was started by a truck driver at first, before later on becoming a sought after symbol of wealth and prosperity.
Today, there are a wide variety of different trees available, including mini money trees, larger money trees, and even money tree forests, which include many money trees all grown together in the same pot.
Can Money Trees Braid Themselves?
As mentioned previously, as perfectly natural as the intertwined stems of a money tree can look, they are not natural at all, and money tree braiding has actually become something of a specialized practice, and is done to help provide both structural support to these plants, and to help aid in the symbolism of the plant itself.
Although it is the money tree which you most commonly see braided, the reality is that any plant with a relatively pliable or soft stem is able to be braided together.
Other plants which sometimes get braided include Bay Leafs, Azaleas, Ficus, and Hibiscuses.
The braiding on a money tree that most people envision involves the typical three-strand braid, however, this is just one of the many braiding forms that can be done on a money tree.
The braiding can involve anywhere from two to six different stems, and some especially talented braiders can even manipulate the strands to create coils and trellis shapes too.
These beautiful interwoven stems are why many people seek to add a money tree to their home or office space, and they’re also common gifts too, especially due to the added symbolism.

How To Braid A Money Tree
So, if you’ve been growing a few money trees at home and want to learn how to braid them, then read this step-by-step guide to learn exactly how to do so!
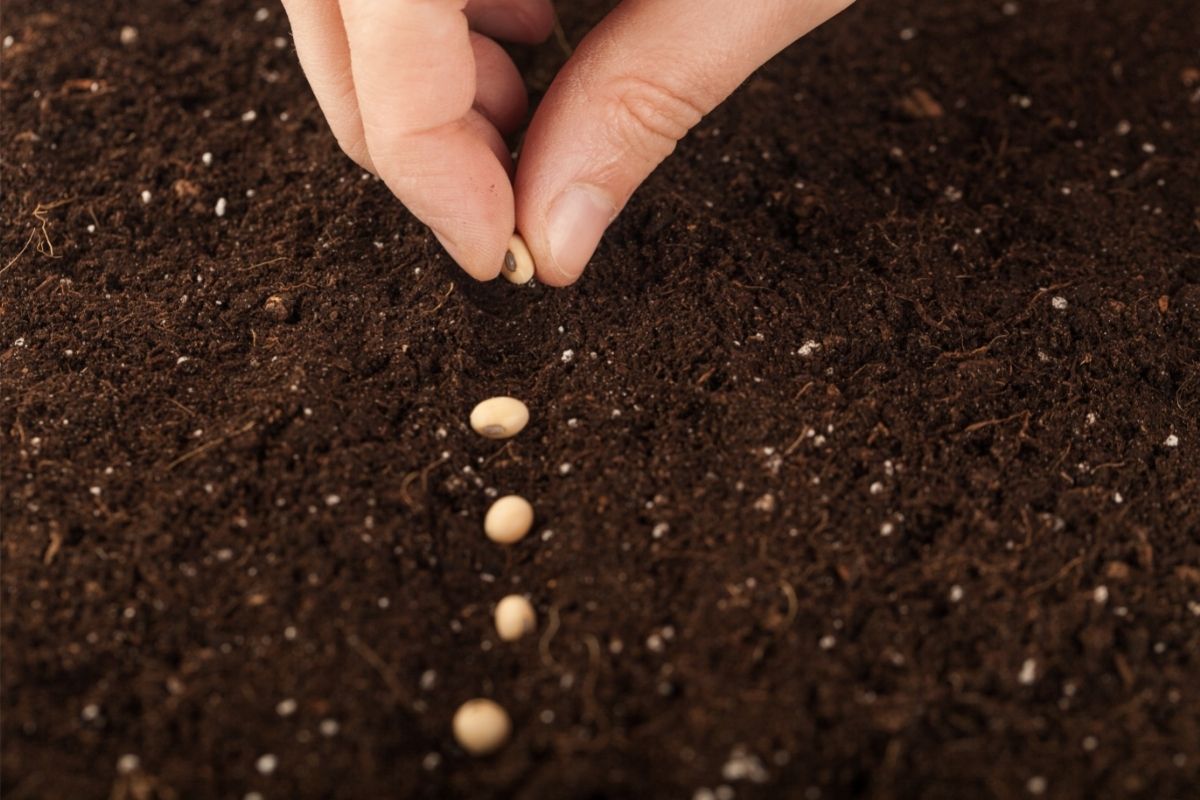
To begin, you’ll want somewhere between 6 to 7 money tree saplings, and unless you’ve already grown them in the same spot with the intention of braiding them, then you’ll need to repot them all into the same container.
Picking the correct container and soil is important, so make sure you find a pot that is big enough to hold all of the trees without being excessively large, as well as having an unplugged drainage hole too.
The soil you should use needs to be slightly sandy, and well-draining too, so consider using a succulent blend soil.
To ensure that your money trees are ready for braiding, you should check that they are somewhere between 7 to 10 inches tall and ½ an inch in diameter with some slightly mature coloration at the bottom, but still with plenty of flexibility.
If there are stems that will prevent you from braiding, then cut them off using disinfected pruning shears, but make sure you leave any stems or leaves that won’t pose an issue.
To begin, slowly begin to braid the branches together, but be sure not to braid them tightly, as they’ll grow thicker over time, and will create that closely braided look naturally.
You’ll want to braid your stems until you reach about ⅔ of the way up, and then try letting them go. If your braid holds, then you’ve done it correctly.
However, if your braid begins to untwine, then use some yarn or garden tape to gently hold them, just be sure not to do it too tightly, as you might damage the stems.
It’s also common for them to lean slightly when braided, which you can solve by investing in a plant support from your local garden center, which will help to straighten up the plant as it begins to grow and thicken up.
After around four to six weeks, you should be able to gently remove any garden tape or yarn that you were using to help keep your braid together, and there should be absolutely no damage to the trunks or the skin of the stems whatsoever, and your braid should be perfectly held!
As your tree grows, you should braid the new sections after about six to eight inches of new growth. It’s completely safe to repot your money tree if necessary too, just be sure not to damage the roots or the trunks.
Conclusion
So there you have it, our guide to braiding your money tree at home. Hopefully you found this guide useful, and are able to successfully braid your money tree together!
- Best Hanging Plant For Low Light - September 4, 2023
- Best Indoor Plants Florida - August 28, 2023
- Best Plants For Bathroom Smells - August 21, 2023


